What is an enlarger?
A photographic enlarger is a device used in a darkroom to project an image from a photographic negative onto a piece of light sensitive paper in order to create a print.
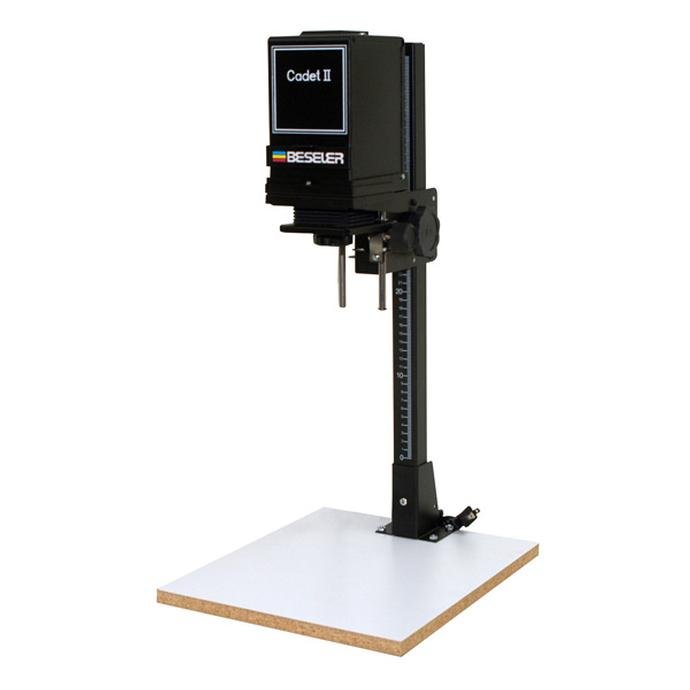
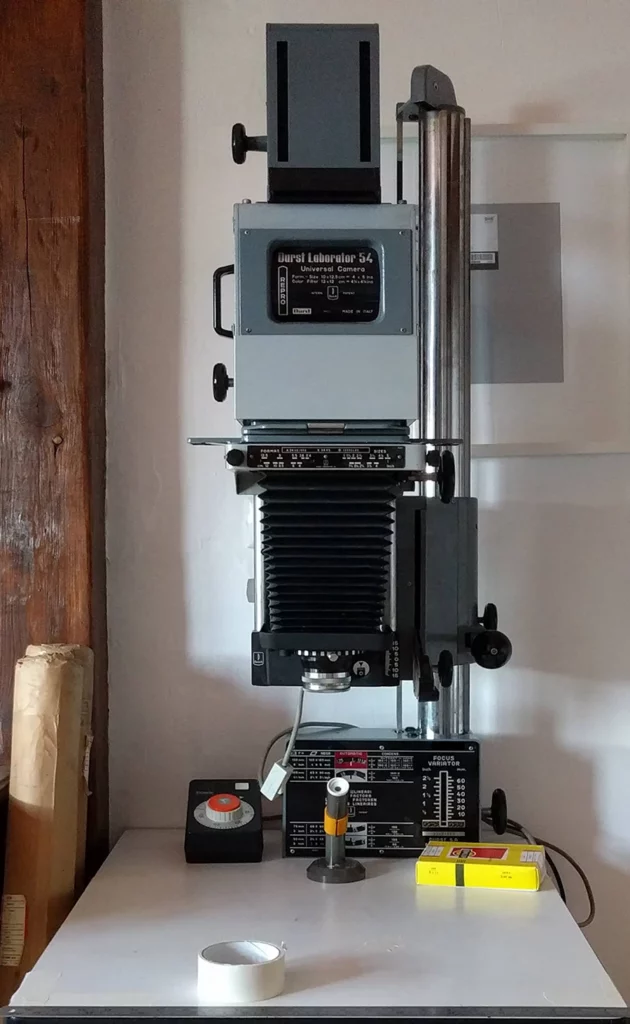
The enlarger consists of several main parts, including the head, the lens, and the baseboard. The head of the enlarger holds the negative in place and is mounted on a rail system that allows it to be moved up and down. The lens is mounted on the head and is used to project the image from the negative onto the baseboard. The baseboard is where the photographic paper is placed to receive the projected image.
Photographic enlargers are a fundamental tool in traditional photography, allowing photographers to produce high-quality prints from their negatives. The use of a photographic enlarger requires a good understanding of the various components, settings and techniques for creating the perfect print. With the advent of digital photography, the use of traditional darkrooms and photographic enlargers has decreased, but still remains a popular choice among film photographers and enthusiasts.
How is an enlarger used?
To use an enlarger, the photographer first selects the negative to be enlarged and places it in the negative carrier, which is located in the head of the enlarger. The negative carrier is designed to hold the negative in the correct position and orientation for the enlargement process.
Next, the photographer selects the lens to be used for the enlargement. The lenses used for enlarging negatives are dedicated models, designed to provide good sharpness and even illumination across the whole image field. As opposed to camera lenses, designed to photograph tridimensional objects, enlarger lenses are optimised to work with flat planes – the negative and the sheet of paper on the easel.
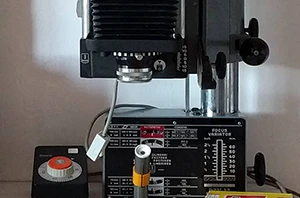
Once the negative and lens have been set up, the photographer adjusts the scale of the image, by moving the head of the enlarger up or down, usually using a type of rack and pinion or counterweight mechanism. Once the correct scale is achieve, the projected image is focused by moving the lens stage of the enlarger up or down, closer or further to the negative. This is done by using the focusing knob on the head of the enlarger, and can be aided by using a focus finder, which is a small magnifying lens used to examine the projected image.
Once the focus has been set, the photographer sets the aperture of the lens to the desired f-stop. This controls the amount of light that passes through the lens and onto the photographic paper. A wider aperture (smaller f-stop) will result in a brighter projected image, while a narrower aperture (larger f-stop) will result in a darker projection. Lenses usually perform at their best in the middle of their f-stop ranges.
After selecting the working aperture, the photographer sets the exposure time, usually by means of adjusting the settings of the darkroom timer. This controls the amount of time that the photographic paper is exposed to the projected image, and, subsequently, the processed image exposure. Because the majority of darkroom printing processes are of the reversal type, a longer exposure time will result in a darker image, while a shorter exposure time will result in a brighter print. The correct exposure time is usually determined through a series of test strips, in which the printer tests various times while observing the tonality of the developed image.
Once the exposure time has been set, the photographer places the photographic paper on the baseboard and starts the enlarger’s timer. The timer controls the amount of time that the light source is on, and the photographic paper is exposed to the projected image.
After the exposure is complete, the photographic paper is removed from the baseboard and placed in a tray of developer. The developer is a liquid chemical that reacts with the light-sensitive emulsion on the photographic paper to create the image. The developer is usually kept at a specific temperature and agitated to ensure proper development.
Once the development process is complete, the photographic paper is then placed in a tray of fixer, which is another chemical solution that stops the development process and makes the image permanent. After being fixed, the print is washed in water to remove any remaining chemicals, and then dried.