Before committing to a full blown dedicated darkroom, many photographers make their first darkroom prints in makeshift spaces at home. Publicly accessible community darkrooms are now few and far between, so setting up a temporary space at home is the only option for a growing number of enthusiasts. In our newest blockbuster franchise Darkroom Is Possible we will investigate the different aspects of successfully equipping and running a home darkroom.
Where?
The first step to a successful darkroom is getting your room suffciently dark. How you go about this depends a lot of the location of your darkroom-to-be. Running water and drain are very nice to have when darkroom printing, so, naturally, the most popular location for a makeshift darkroom is a bathroom. Apart from providing convenient water supply and drains, bathrooms usually have some form of ventillation which is always useful when working with chemicals. Other popular locations for temporary darkroom set up are utility closets, spare bedrooms, cellars, attics or even kitchens. Depending on your dedication and the scale to which you want to work, any room can become a darkroom.
Once you’ve decided on the room, you need to work out how to make it dark. If you are willing to limit your printing to the dark hours, you can sometimes save a lot of lightproofing efforts. If you go the bathroom route, it helps that most bathrooms come with small, easy to black out windows or with none at all. A utility closet might not have a window, but could have a vent through which light bleeds through. Any room is susceptible to light getting around and under the door.
Bottom line is, wherever you decide to establish your darkroom, chances are there will be some lightproofing to do. So let’s have a look at the most common areas you need to work on when turning a room into a darkroom.
Windows
For most rooms that you can try and turn into a darkroom, there will be one major source of natural light to tackle, and thats usually a window. To black out a window you will need some form of opaque material that you can easily attach to the frame. This can be black-out fabric or plastic sheet material, various types of boards or something else. Of course, you can go with blinds, shutters or some other common form of blacking out a room. If you have a use for the room being completely dark outside turning it into a darkroom, then it might be a good opportunity to invest into some professionally installed lightproofing.
However, if you are just starting out and just want to test the waters, you need not invest a huge amount into blackouts. There are a thousand ways to black out a window easily, cheaply and reversibly. If you are creative, chances are you already have all the black-out materials you need lying around the house. Here’s a couple of ideas, ranging from temporary to semi-permanent:
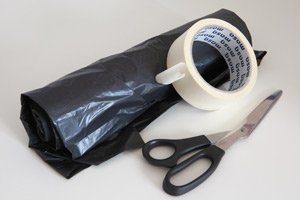
Garbage bags

Some heavy duty garbage bags cut to size can do a perfect job in a pinch. The thickest trash bags on the market are usually labeled contractor or commercial grade. You can test how much light goes through the material by shining a light trough (your phone’s flashlight is fine for this). If you want to be able to print during the day, then no light should be visible in this test. You will probably need to stack up at least two or four layers to achieve that. If you will only be printing when it’s dark outside, you can get away with less, but you still need to do some testing as we will discuss further down.
You can use wide masking tape or duct tape to attach the bags to the window frame. You need to make sure no light goes in between the bag and the frame, so you are better off taping the whole perimeter of the frame. If your window frame is painted or in other way delicate, make sure you don’t ruin it with an overly strong adhesive.
An alternative to bin bags can be any product made of thick black sheet plastic. You can repurpose an old barbeque cover, a (big) rain jacket or that roll of mulching plastic that has been rolling around the shed. The heavier the material, the fewer layers you will need to put up. On the other side, heavier material will be more difficult to attach securely. The last thing you want is your lightproofing material to peel off in the middle of a large printing session. Test before you commit, little creativity goes a long way.
Aluminium foil
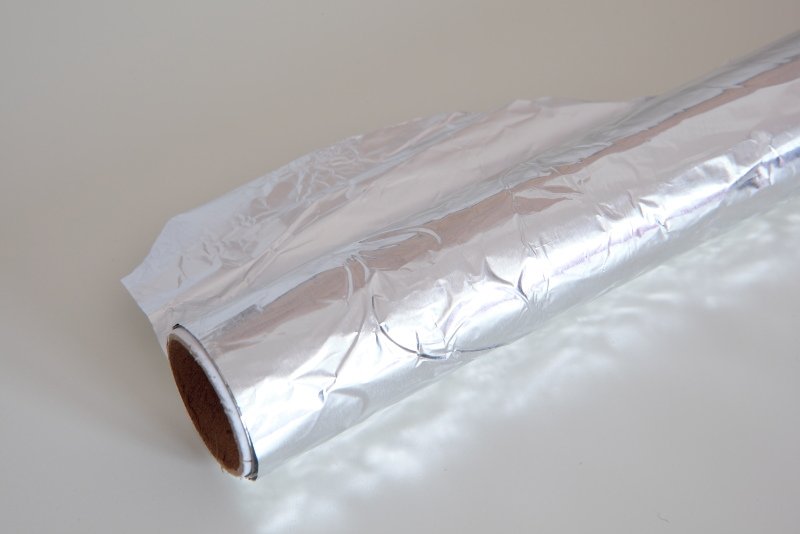
Another useful material to use in blacking out is aluminium foil. It’s cheap, light, easy to shape and attach, and usually comes in wider rolls to cover the typical bathroom window. Even the thinnest sheets are completely opaque, so you need not double up. This makes it a lot less cumbersome than bin bags, albeit a bit more expensive. In additon, foil is rather fragile, so reusing it is a bit trickier compared to sheet plastic or bin bags.
A big advantage of foil over darker materials is that it reflects rather than absorb light. In a sun facing room, this can make a big impact on temperature and comfort in the darkroom. If you go with foil, it’s easier to cover only the glass part of the window, thus saving a bit of materials. Just be careful not to tear it when you put it up. If you do cover only the glazed part of the window, make sure to check for any light creeping in between the window pane and the frame, we’ve covered the procedure below.
Black-out boards
A third approach is to cut some black foamboard, matboard, thin plywood or other lightweight opaque sheet material to size and attach that to the window frame. You can also paint or cover a non-opaque material like insulation board with some black nylon, making a black-out panel. Again, creativity in using whatever you have lying around can save you money and/or a trip to the store.
This is an excellent option when you know you will be using the same space at least a few times. While a bit more involved and with potentially higher up-front costs, this is a more easily repeatable and cost effective technique in the long run. You can store and reuse the boards way easier than bin bags or foil. Set up time is also a lot shorter when you have your boards cut to size.
Black-out fabric
At the higher end of the blackout spectrum we are going to cover comes black-out fabric. Compared to the other options, it requires a bit more upfront cost and involvment. You have to buy it, get it cut and sewn to size and figure out a way to attach it securely to the window. Simply hanging it in front of the window will not stop all the light, it has to be thorougly attached around the perimeter of the frame.
A word of caution, not every fabric sold as black-out is completely light proof. Most photographic retailers offer dedicated products, which, if they are within you budget, are usually your safest bet. Very few of the regular black-out fabrics are completely opaque, as they are meant to go behind regular curtains. You are most likely going to have to double up, but like the bin bags, the only way to know is to do the flashlight test.
You can also try a different fabric altogether, for example black vinyl can be a good option. Another suitable fabric goes by the name duvetyne or commando cloth, comes in black the thicker varieties come very close to being completely opaque. This material is used in film, TV and theatre production, and it can be easily found in specialist suppliers. Versions of the commando cloth do hit consumer stores too, so take a trip down to your local fabric store with a flashlight in your pocket and check what they have in the bargain bin.
Self-adhesive hook and loop strips
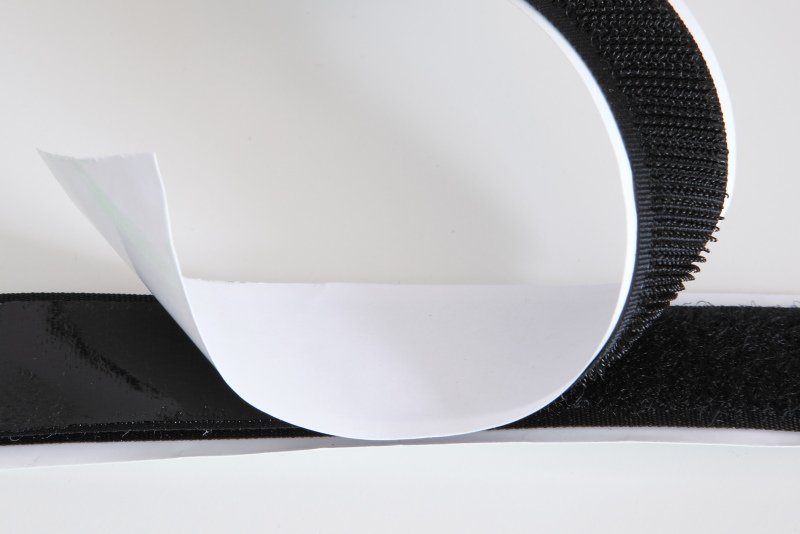
A neat way to attach foamboard, blackout fabric, vinyl sheets or any other reusable blackout material to the window frame is using hook and look (velcro) strips. They come in self adhesive and sew-on types and can be attached to almost anything. For example, you can get a roll of self adhesive soft-side (loop) strip and apply it all around the window frame. Then, have your blackout fabric pieces made with hard-side (hook) strips sewn along the edges. Now you can black out your window in a matter of seconds.
Depending on the depth of the window frame and the width of you velcro strips, sometimes light can still find its way in. If it does, a regular curtain in front of the window will most likeli suffice as secondary light proofing.


Light leaks
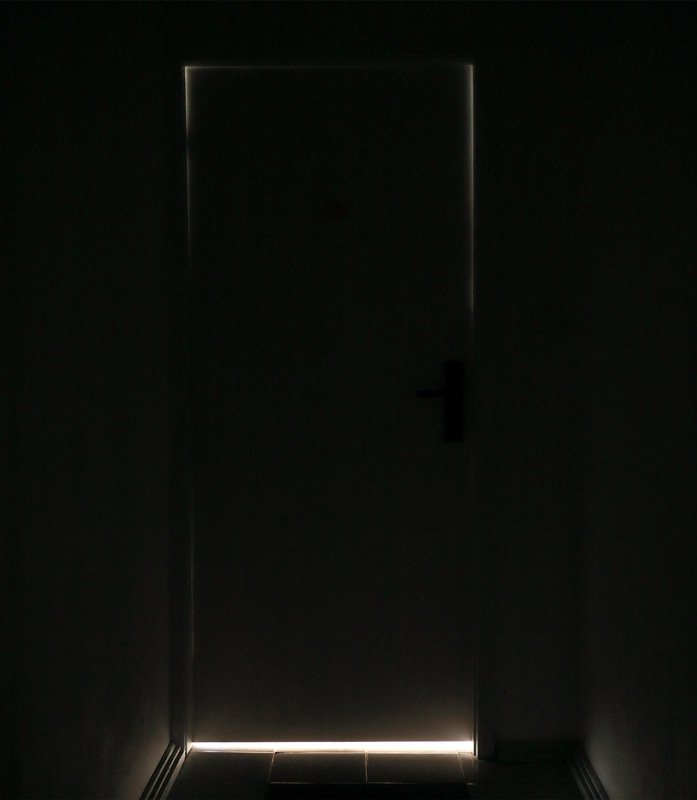
Just like your camera, a darkroom can have light leaks and it’s equally important to take care of them. Light can find it’s way around objects in a sneaky way, but luckily it’s not that difficult to track down. The only way to know is to look, and for this the room needs to be as dark as possible. This is why hunting down light leaks is done once you’ve dealt with any major sources of light like windows. Do not turn on the safelight just yet.
This procedure is best done in a bright, if possible, sunny day. A dark, overcast day might not show some smaller leaks. Any rooms or hallways adjasent to the one you’re blacking out need to be in their brightest state. If there’s a hallway outside the darkroom-to-be’s door, the lightbulb in it should be on etc.
Once the outside is as bright and the room as dark as possible, sit in there for several minutes to let your eyes adjust. Listen to a podcast or a couple of tunes but don’t rush this, it takes time. Gradually, you will start noticing corners of furniture, light bleeding through cracks and crevices. Look for any light emitted from electronics in the room, standby lights on TVs, illuminated switches and so on. Mentally note these down, and in the following chapters we will discuss how to deal with the most common ones.
Doors
Doors are simultaneousy easier and harder to light proof compared to windows. They are usually solid, so you only have to deal with whatever light makes its way around the frame and under the door. On the other hand, you will most likely want to be able to open the door without too much hassle.
With doors, you have to consider how much light proofing you actually need to do. Where does the door lead to? If it goes out to a windowless interior hallway, there’s probably not much light to start with. Then again, do you live with other people who might be switching a lamp on and off in said hallway? These are the type of questions you need to be asking yourself when you tackle door lightproofing.
If there’s a risk it’s always better to play it safe. There’s nothing worse than having a box of expensive sheet film or paper ruined by a light leak you didn’t pay attention to. When working with film, especially high ISO one, even a seemingly insignificant leak can have an impact given enough time.
As with windows, there are several approaches to making a door light tight.
Weatherstrips
The easiest and cheapest way to deal with light bleeding between the door pane and the frame is self-adhesive weatherstripping. It comes in a variety of shapes, thicknesses, colors and materials to fit any gap. While technically you are better off with a dark colored strip, it’s only important if you are dealing with larger gaps. If the fit is tight enough the color of the strip doesn’t really matter.
Depending on the type of door and frame, you may also be able to use weatherstrips on the bottom edge/threshold. If for some reason you can’t then you need to look into the next option.
Draft stoppers
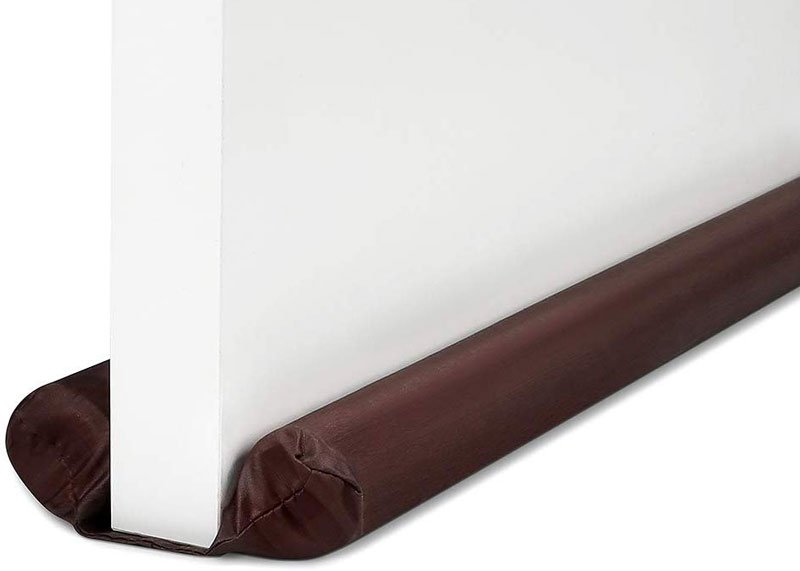
Also known as bottom door seals, draft stoppers too come in a variety of shapes, sizes and types. There are those that are stuck to the door pane, and then there are models that are slid underneath, like the one pictured above. Pretty much all of them will do just fine for lightproofing, so just pick the one you like best.
In a pinch, you can make do with a thicker rag that you just push against the bottom edge of the door. It’s a bit more work, as you need to remember to do it every time you open the door, but then again it’s free and you don’t have to go shopping.
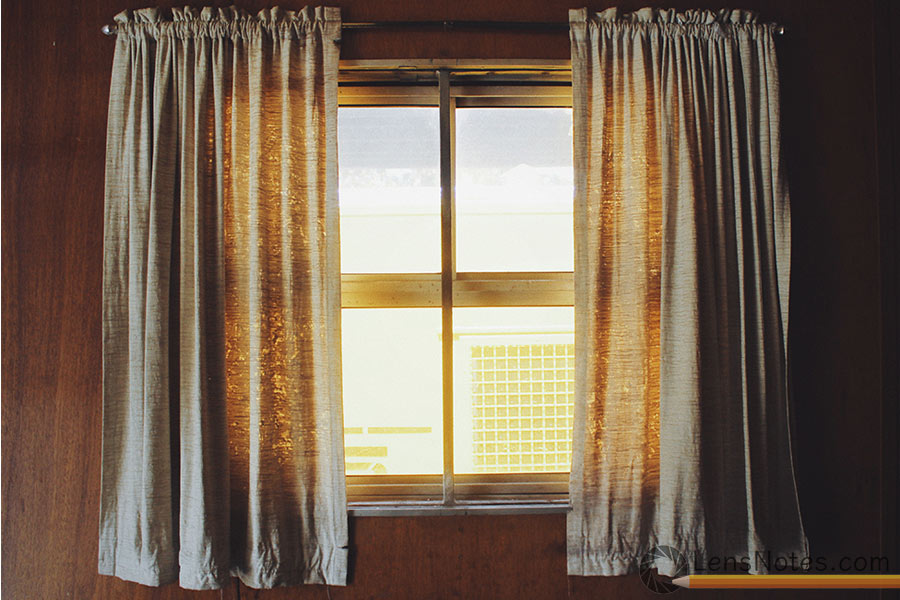
Curtain
A more of an all-in-one approach to door lightproofing is hanging an oversized curtain of black out fabric on the inside of the door. Albeit a bit move involved, it is a one stop solution for all door light leaks. As you are dealing with relatively small amounts of light, the curtain need not be especially thick. Fitting is also not as crucial as when blacking out a window, you just need a bit of an overlap over the door frame.
If this is just a temporary setup, thumb tacking of duct taping the fabric at the top corners of the door frame will suffice. If it’s more of a permanent situation, and you don’t mind explaining the random curtain to your guests, you can do it the right way and put up a small curtain rail. This will also allow you to use heavier fabric and approximate a professional darkroom’s double door setup.
Lights
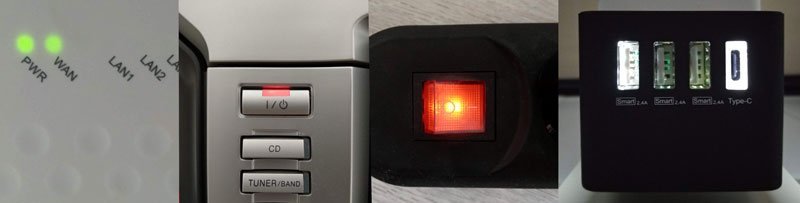
If you look close enough, in most rooms you will find a bunch of small lights or screens shining from various switches, devices or cabinets. Whereas not all of them are bright enough to be a problem, it is best that all are be switched off or covered. All of the lights in the picture above were found in a single room, and together provide more than enough light to ruin your day in the darkroom.
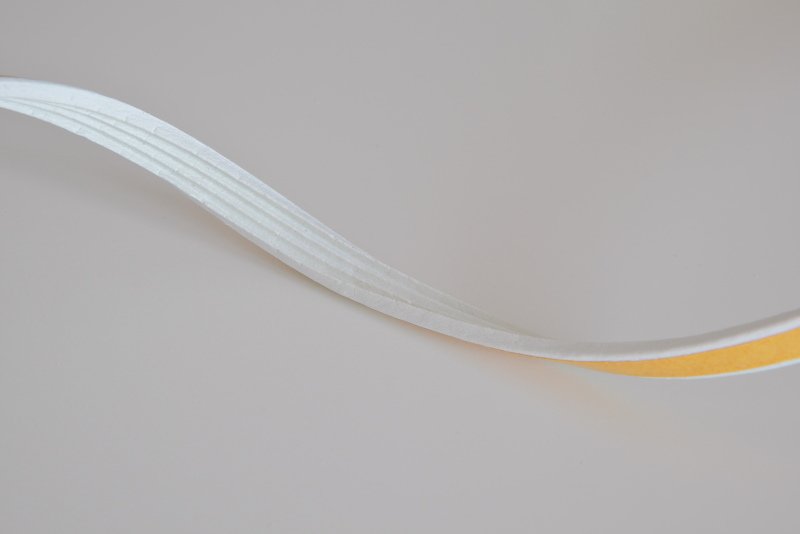
Dealing with these is done on a case by case basis. Rule of thumb is, unplug whatever you can, cover up the rest. Black electrical tape or duct tape can be used for that. Be mindful that both, if left long enough, or the device is hot enough, may leave adhesive residue. To avoid this, you might want to get yourself some fancy black masking tape like the one below.
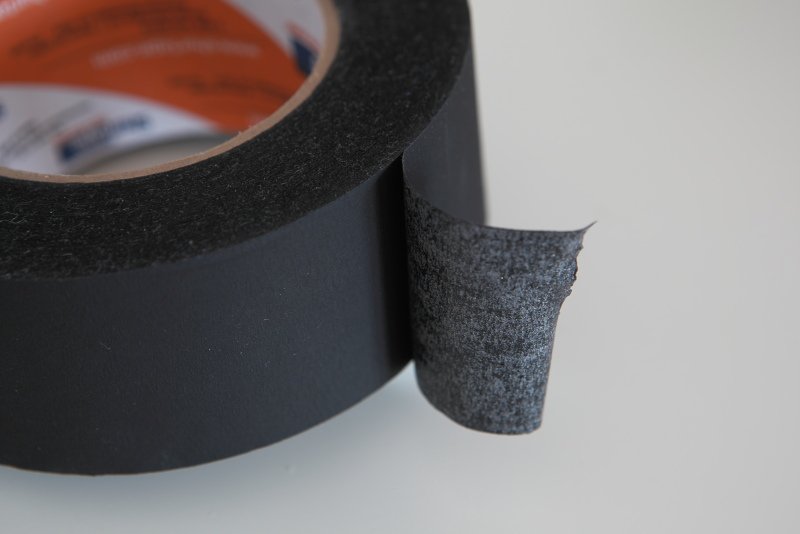
Black masking tape is a very useful photographic accessory in general, so it’s always nice to have one around. You can use it to cover small cracks or holes in black out material, mend enlarger bellows or any other light-controlling task you can think of.


My friend wants to be able to set up a dark room for photography, but he’s not sure how to do it when all of his rooms have windows. It makes sense that putting up the right shades would be beneficial for this! That seems like a great way to be able to block out all light on command.
As a kid, I had a darkroom in a basement storage closet. It worked out just fine