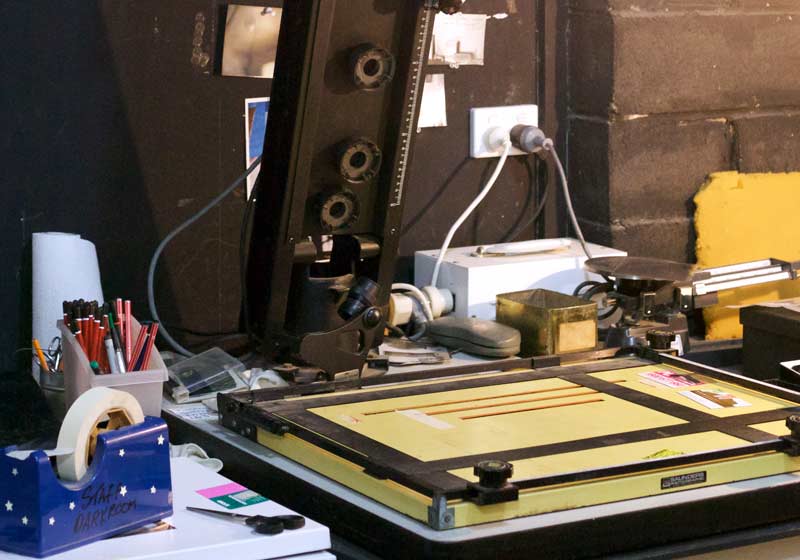
Welcome to the newest episode of our blockbuster series Darkroom Is Possible! In it we investigate the different aspects of successfully equipping and running a home darkroom. In this instalment, we will be examining a very important health and safety aspect of any darkroom – ventilation.
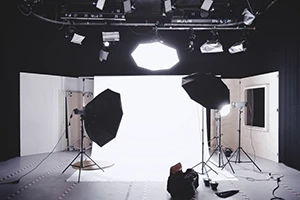
By their very nature, home darkrooms tend to be small, enclosed and not particulalry airy spaces. Add in a bunch of chemicals, a lot of water and a hot enlarger and see if it gets any better. However, this does not mean darkrooms have to be stuffy, smelly or claustrophobic. One of the best investments you can make in your darkroom is ensuring you have adequate air supply. Apart from the obvious health and safety considerations, fresh air in the darkroom will improve your efficiency, reduce fatigue and make your printing sessions all the more pleasurable.
In addition, a well thought out ventillation scheme can help the battle with every darkroom printer’s archenemy – dust. So, without further ado, let’s see what you can do to improve the climate in your home darkroom.
Positive or negative pressure darkroom ventilation?
This is the fundamental question of darkroom ventilation, the subject of countless internet spites and feuds. Basically, there are two schools of thought when it comes to ventilation, and each has it’s proponents and detractors. We will sumarise both approaches, so that you can decide which is better for you and your situation.
Negative pressure
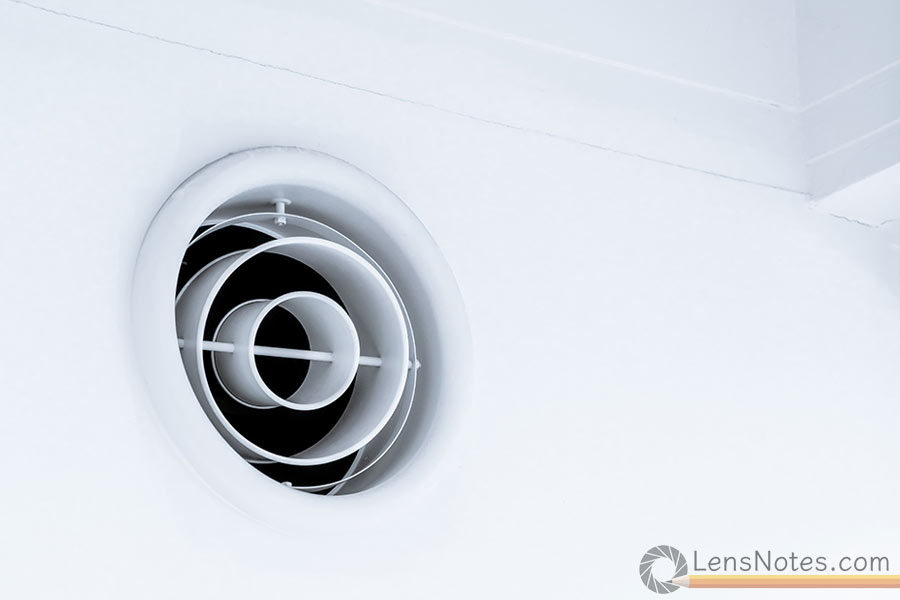
Let’s start with negative pressure ventilation, for the sole reason that it is far more common in domestic environments. Negative pressure ventilation basically means there is an exhaust fan sucking air out of a room. This creates (a slight) negative pressure, that causes fresh air to rush in from either a dedicated vent or through gaps and cracks around windows and doors. The fan in your bathroom is a part of a negative pressure ventilation system, the hood over your stove too.
There are a few advantages to negative pressure ventilation. Chief among those is the fact that it’s widely adopted and you might already have it installed in the room you will be converting. Negative pressure also allows you to easily direct the exhaust air to a vent shaft or the outside, with none of it reaching any other rooms in your house. This may be important in a home setting where you don’t want your bedroom to smell of fixer after a printing session.
The key disadvantage to the negative pressure darkroom ventilation method is that generally it gives you little control over where fresh air comes in from. Unless the room you will be converting is very well sealed, air will be coming in through a bunch of gaps and cracks. In darkroom printing language this translates into one thing – dust. This can be remedied by making your darkroom space airtight, allowing air to only come in through a filtered vent.
Positive pressure
Positive pressure ventilation is a bit more involved and so not nearly as common in domestic settings. It involves a fan blowing fresh air into a room, usually through a filter. This pushes out the stale air out through a vent and/or any gaps and cracks.
The main advantage of positive pressure darkroom ventilation is the ability to filter all incoming air. This can make a big difference in the amount of dust you have to deal with, especially in dry and dusty locales. It may also be the way to go if you are sectioning off a corner of a dusty basement to turn into a darkroom.
The problem with positive pressure darkroom ventilation is that you have little control over where the exhaust air goes. Unless your darkroom is very well sealed and you have an exhaust vent leading to the outside, the humidity, vapors and odors you are trying to get rid of can find their way into other parts of the house. Making sure any doors, gaps, cracks or central HVAC return vents are properly sealed can prevent this, but it may be more difficult than it sounds.
So which one?
So, we can conclude that both positive and negative pressure ventilation systems basically do the same thing, but can cause different issues. Ultimately, if you manage to make your darkroom-to-be as close to airtight as possible, it makes little difference which method you will choose.
How much ventilation do you actually need?
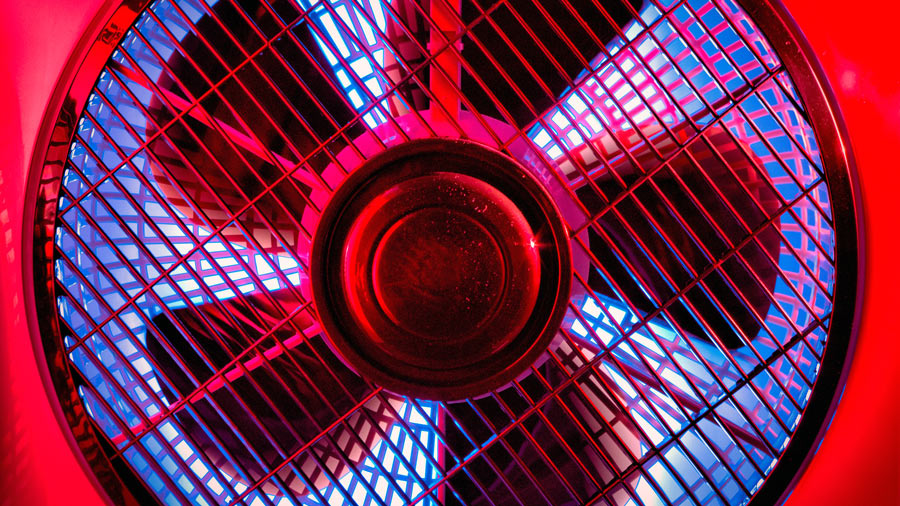
As discussed above, the main objective of good ventilation is to provide a comfortable and safe working environment. This means that ventilation should be sufficient to eliminate strong odors and excess humidity. Depending on your layout, you might be able to achieve this using natural draught. More often than not, however, you’ll need to get a fan installed.
Naturally, the type of chemicals and processes you plan to utilize will determine the amount of ventilation necessary. A good rule of thumb for general black and white darkroom printing work is to ensure your darkroom gets 6 to 8 air changes per hour. More aggressive chemicals like toners and bleaches or color processes that run at higher temperatures might require significantly more ventilation, but this is a good baseline. Unsurprisingly, the size of your working area is going to determine what ventilation equipment you need.
Let’s illustrate this with an example: You are working in your spare bathroom that measures 7 x 12 feet (or roughly 2.1 x 3.6 meters). The ceiling is a generous 8 feet, or just over 2.4 meters high. Multiplying those, we get that the room volume is 672 cubic feet or a bit over 18 cubic meters. So, we need to ensure that the fan and vents we have (or are planning to install) can supply enough fresh air to fill this volume 6 to 8 times in an hour.
After some simple math, we come to the conclusion that a fan suitable for our space should flow roughly between 5400 to 6700 ft3 or 144 to 180 m3 per hour. Luckily, most manufacturers give ventilation rates for fans in the same units, so it’s easy to find the right one. Frequently, fans are specced in CFM or cubic feet per minute, but the conversion is easy enough. Just divide your hourly ft3 figure by 60 to get the CFM value you’re after, in this case we need a fan shifting between 90 to 110 CFM.
In addition to a fan, you also need to consider where all that extra air is going to come from (in case of negative pressure ventilation) or go (in case of positive pressure). You’ll need an adequately sized lightproof vent able to sustain the airflow of your fan leading to the outside.
Darkroom ventilation and central HVAC
Most houses in the US are equipped with central HVAC (heating, ventilation & air-conditioning) systems. If yours is, it’s good to know how such a system might affect or assist your darkroom ventilation project. A typical whole-house HVAC system circulates air through a central air handling unit using ducts leading to every room. There are usually two vents to each room – an outlet, through which heated or conditioned air comes in, and a return vent, which circulates air back to the air handling unit.
You need to be aware of this, as such a system has several implications when it comes to dealing with odors and chemicals. First and foremost, yes, it will effectively change the air in the room, so it is ventilation, but not really what you are after. The reason being, the air going into the return vent is usually not expelled to the outside but recirculated throughout the house. Basically, the whole house will have that sweet fix-and-stop-bath smell when your are done with your printing.
Sometimes, certain areas of the house such as bathrooms and kitchens are equipped with dedicated vents leading to the outside or to a recuperator, but you need to consult your HVAC contractor for details on this. Unless you know otherwise, assume the return air vents do not vent outside. When converting an HVAC connected room to a darkroom, you have two options.
One is to simply seal off HVAC vents altogether, which will prevent odors migrating throughout the house, but will also rid you of heating and/or air conditioning of the space. The second approach is to harness the system and utilize it to create your own, dedicated positive pressure darkroom ventilation. You can do this by simply sealing off the return air vent and installing a vent leading to the outside in it’s place. By doing so, you will be receiving fresh, heated or cooled filtered air from your air handling unit, while expelling stale darkroom air to the outside. It’s a win win!
Darkroom ventilation and energy efficiency
If you live in an area that requires a lot of heating or cooling, you might be wary of expeling a big chunk of your tempered air to the outside. With ever increasing energy costs, a lengthy printing session might make a dent in your energy bill if it’s freezing outside. Unfortunately, apart from installing a full blown recuperator fan or heat recovery system, there’s not much you can easily do to eliminate this waste.
However, you can try and reduce the impact as much as possible. Make sure you run your ventilation at full speed only when you need it – whenever you have exposed chemicals in the trays, for example. You can dial it down or turn it off for most dry tasks, unless it’s a smaller space that gets stuffy with you just being inside. In addition, the use of low odor chemicals, floating tray lids and common sense go a long way towards lowering your ventilation needs.
Room specifics
As we’ve discussed in the first episode, Blackout, how you go about your darkroom largely depends on the room you will be repurposing, as well as the permanency of your setup. The infrastructural capabilities of the space – running water, drain and ventilation connections, will most likely be the limiting factors of any home darkroom project. Ultimately, the fascilities are also be what determines what ventilation you can achieve, and how to go about it. So let’s examine what your options are:
Bathroom
Because of the need for water and drain, unsurprisingly the most popular location for a makeshift darkroom is a bathroom. If you are blessed with a spare bathroom and sympathetic spouse/housemates, you can even turn it into a permanent setup. Conveniently, in addition to water and drain access, most bathrooms are equipped with some sort of ventilation, since they are built to handle large amounts of steam and moisture.
Basement
Basements are another popular location for makeshift darkrooms. Being out of the way of everyday life, a basement corner can be a prime candidate for a permanent home darkroom setup. When planning out your darkroom build, check if you have any acess to air ducts, windows or external walls where you can easily install a vent or a fan.
If you are constructing a permanent darkroom, it might be wise to consult an HVAC contractor on the best way to ventilate it. As discussed above, basements are frequently rather dusty, so a positive pressure approach may be prudent.
Garage
Garages are also popular locations for a makeshift darkroom. Many beginner darkroom printers might find the space too large to start with, so a temporary division may be in order. However, ventilation in a garage should be readily available, or easy to instal.
If you are planning to position your darkroom in another spot, you will need to investigate into the different ventilation options available there.

Darkroom ventilation alternatives
Let’s just start this section with a disclaimer: there’s no real substitute for proper ventilation. Air is rather important for humans, so it’s not an area to compromise on. However, if your space is absolutely devoid of any continuous ventilation options, or you find them insufficient, there are some steps you can take to improve things a bit.
Reduction
The easiest way to reduce your need for ventilation in the darkroom is to try and reduce vapours and odors as much as you can. In fact, even if you do have proper ventilation, most of these steps are a good idea regardless.
- Use low odor chemicals – for example, low odor fixers like Photographers’ Formulary TF-4 or TF-5 and an alkaline stop bath or citric acid instead of acetic (or just water if your process allows for it)
- Use covers or floating lids for your trays to minimize evaporation. Alternatively, you can look into vertical slot processors like those manufactured by Nova. They minimize odour because the exposed liquid surface area is a lot smaller than that of a horizontal tray.
- If you can, take some steps of the process out of the darkroom. For example, hang your prints to dry in a hallway or another room if you have the chance. This way you’ll greatly cut down on the humidity in the darkroom, while getting some fresh air yourself. You can also do your chemical mixing outside, especially when working with powdered chemicals.
Manual air out
Every once in a while, when your process allows for it, open up any doors and windows available in the space for a couple of minutes and step outside. You can do this between prints, or perhaps when you might want to see that test strip in daylight. Of course, make sure to put away any light sensitive materials before that.
Even if you have ventilation in the darkroom, frequent breaks are still a good idea. The room breathes a little, and you get a little break from the safelight glow to recalibrate your eyes. You will find yourself refreshed once you get back to it.
Respirators
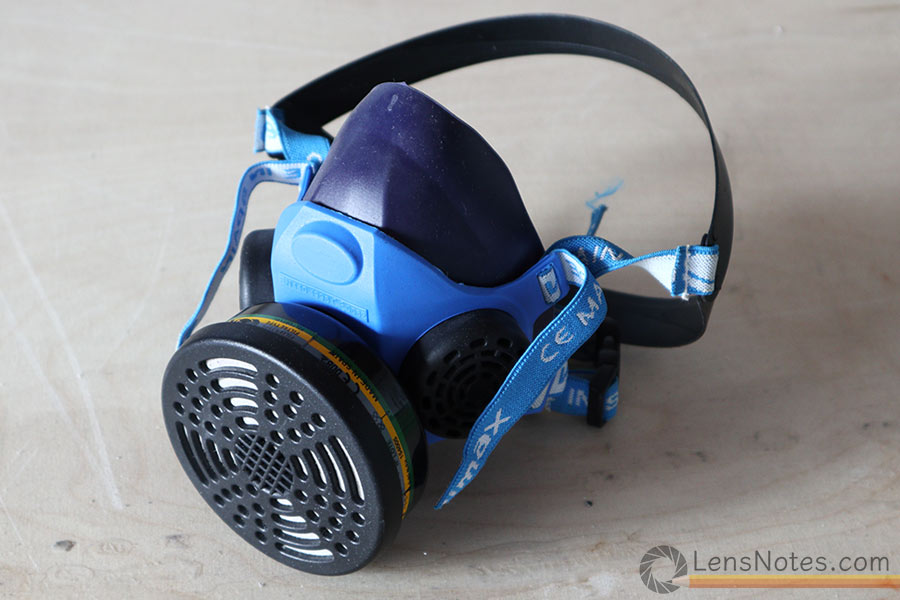
In traditional, run-of-the-mill darkroom printing work wearing a respirator will probably be an overkill. However if you can not provide sufficient airflow in your darkroom, or you are particularly sensitive to a certain chemical, you might look into using a respirator for additional protection. Even in a well ventilated darkroom, there are certain processes or tasks which may call for more protection. For example, I tend to use a respirator when working with more aggresive chemicals like lith, selenium or copper toner. I also wear one when processing mural prints – transfering a big print from developer to stop bath tends to release a bunch of stink I don’t particularly enjoy.
Another instance where I tend to reach for the respirator is when working with color processes. C41, E-6 and RA4 all run at a higher temperature, which makes them a lot smellier than regular darkroom stuff. Finally, I religiously use a respirator when mixing powdered chemicals. Make sure whatever respirator you end up getting has the correct filters installed to provide organic vapor protection.
Air purifier
An air purifier might be a nice supplement to a sub-par ventilation system, but again, is no substitute for fresh air. However, an effective model with activated carbon filter will help with odors as well as with dust control. If you find humidity a bigger issue than odors, you can also look into a compact dehumidifier.

Great post on darkroom ventilation! I especially liked the part about the pros and cons of positive vs negative pressure ventilation. Is there any mention of how these ventilation systems can be adapted for loft spaces that may have odd layouts or limited access to external walls?