What is a lens hood and why do I need one?
A lens hood is a device that is attached to the front of the camera lens in order to shade the front element. The purpose of a lens hood is to reduce stray light which can cause glare, reduce contrast or introduce unwanted artifacts into the image. Shading is especially important for older single-coated or uncoated lenses. A properly shaded lens can produce visibly richer colours and higher contrast.
Lens hoods are also useful for mechanical protection of the front element in use and transit. They can prevent damage from bumps, scratches, rain (within reason) or the occasional stray finger. In this regard, some are better than others. You can learn all about the different types in our in-depth guide below.
When to use a lens hood?
So you got a lens hood, but how do you know when to use it? The short answer to this question is Anytime you can. Unless you are looking to purposefully include some flares or there are physical constraints, there are virtually no drawbacks to using a lens hood all the time.
What are the different types of lens hood?
Lens hoods have been around pretty much since the beginning of photography. As a result, a variety of designs has developed over time. Here’s a run down of the most popular lens hood types:
Bayonet-mount lens hoods
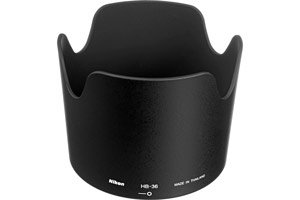
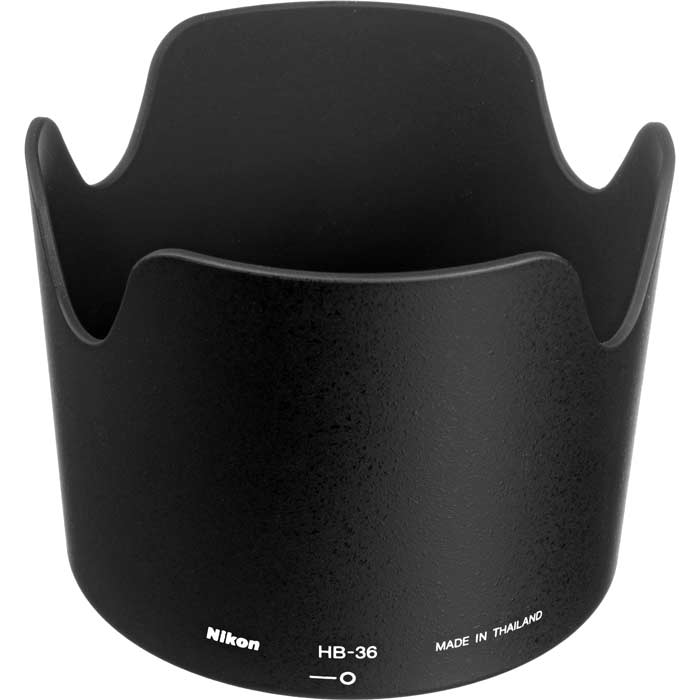
The most common type of lens hood is the plastic bayonet-mount cylinder that screws to the front end of the lens housing. These come bundled with most high-end lenses and are usually offered as accessories for cheaper lenses. Because the shading requirements of each lens are different, typically this type of lens hoods are not interchangeable between different lens models. Bayonet-mount lens hoods can be found in all shapes: circular, square or tulip-shaped.
The advantage of this design is that it offers maximum physical protection and tailored shading for each individual lens. They usually attach to the outer barrel of the lens via a twisting bayonet mount or locked in place with spring loaded pins. This type of lens hood allows undisturbed use of screw-in filters. With wide angle lenses that use shallower lens hoods you don’t even need to remove the lens hood to put on, adjust or remove a filter. The only drawback of this setup is the need for a separate lens hood for each lens, which can add (albeit minimally) to the bulk and weight of gear.
This is partially remedied by the design of most bayonet lens hoods, which allows them to be mounted backwards on the lens. This reduces the length and only impacts the circumference footprint of the lens in your bag. It also might provide a bit of mechanical protection to focus and/or zoom rings in the process.
Do not forget to reverse the lens hood before shooting though. Mounted backwards, a lens hood provides none of the shading it’s designed to do. Even worse, a reversed lens hood makes handling your lens-camera combination awkward and can increase the risk of dropping. Finally, a backwards mounted hood will probably obstruct access to the focus or zoom rings on the lens.
Screw-in lens hoods
The second type of lens hoods is the screw-in type, which screws in the filter threads on the front of the lens. This type of lens hood can be seen more often on vintage lenses and particularly on rangefinders. Screw-in lens hoods are also the second best option for lenses that were not designed with a dedicated lens hood by the manufacturer. Nowadays, screw-in lens hoods are more often encountered as third-party accessories. Virtually all manufacturers of photographic camera optics offer dedicated bayonet mount lens hoods for their current lenses. The screw-in design means that one lens hood can be physically screwed on different lenses with the same thread diameter or through step down rings.
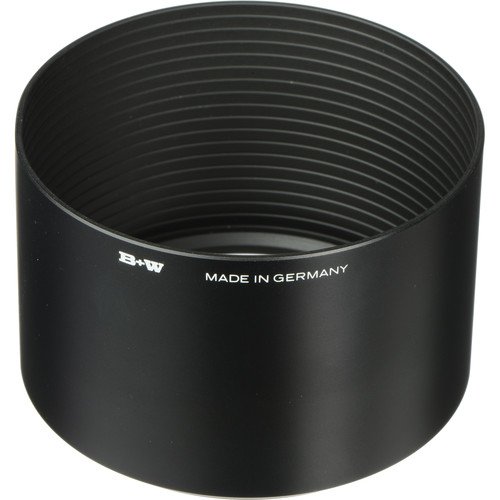
Rigid screw-in lens hoods
Somewhat countering the universal fit of the filter thread attachment, rigid screw-in lens hoods are designed to provide optimal shading for only one designated focal length or lens model. They are usually made of metal, and as such are a bit more durable than their plastic analogs. They also look better on all-metal rangefinder cameras favoured by street photographers. However, this is pretty much where their advantages end.
Screw-in lens hoods are more cumbersome to attach or remove from the lens. Frequent attachment and removal also increases wear on the lens’ filter threads and runs the risk of cross-threading. If you decide to keep the shade on the lens it might require a different size cap, if it supports one at all. Screw-in shades also complicate the use of screw-in filters. They cannot be reverse-mounted on the lens like bayonet lens hoods which makes storing and transporting them a bit more troublesome.
Rigid screw-in hoods are usually found in circular shape. The screw attachment mechanism complicates the proper orienting of petal shaped hoods. There do exist square and petal screw-in shades that use either a separate ring or a type of a friction mount to allow for the hood to be levelled correctly. The Haoge 39mm Square Screw-in metal lens hood pictured above uses a knurled ring to fix the lens hood in a horizontal position once the hood is partially screwed on the lens.
Collapsible screw-in lens hoods
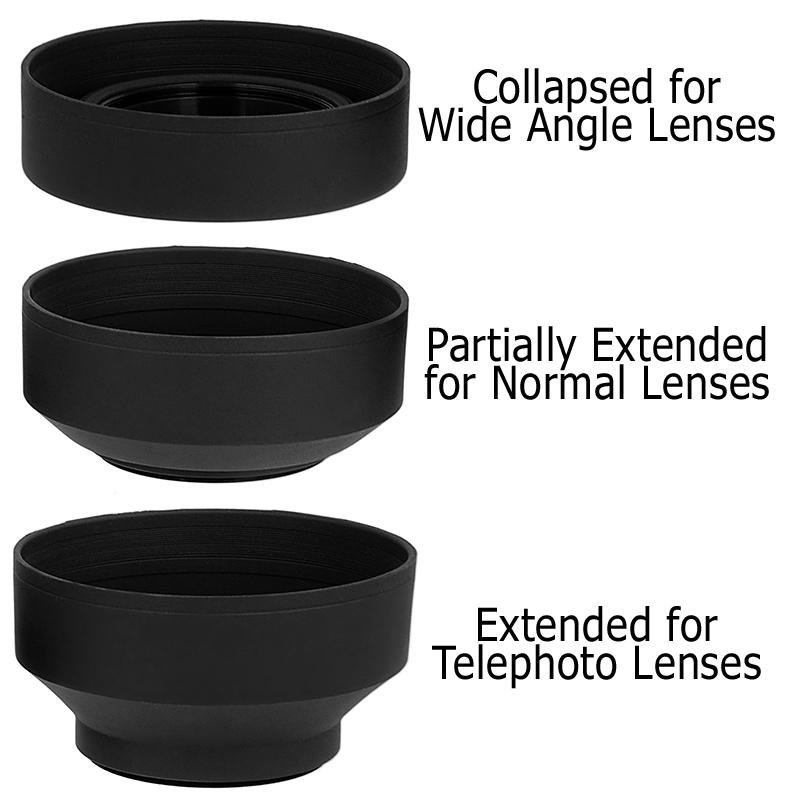
Screw-in rubber lens hoods, like the Fotodiox pictured above, are the most universal lens hood type. They are simple devices comprised of a metal attachment ring and a flexible rubber hood. Certainly less sexy than their metal brethen, collapsible rubber lens hoods make up for it with practicality. Their construction usually allows for several positions of the rubber hood, resulting in different effective lengths. This way, you can use the same hood on several lenses, provided they share a common front filter thread diameter (or through adapters).
Easy to pack and very light, these lens hoods are also very easy to use. They usually have female filter threads of the same diameter on the inside of the metal ring. Due to the collapsibility, a filter or a cap can be easily attached or removed without removing the hood. Their practicality on top of their generally affordable prices, make rubber lens hoods one of the best value-for-money photography accessories you can buy. Their only downside is that they do not provide as much physical protection of the lens’ front element like hard plastic or metal lens hoods.
Rubber lens hoods also come in very handy when shooting through windows. By placing the hood edge flush against the window, you can eliminate reflections between the glass and the lens’ front element. While you can do this with all lens hood types, a rubber lens hood is particularly suitable for this purpose. The flexible hood allows you to tilt the camera while maintaining a light-proof seal around the edge. The soft rubber material also eliminates the risk of damaging the glass.
Collapsible rubber lens hoods only come in circular shape. This is in part due to the same issues that rigid screw-in petal hoods run into – difficult orientation. In addition, the collapsible construction works best in a circular design. Like their rigid counterparts, rubber screw-in lens hoods cannot be reverse mounted, but their collapsible design makes up for this.
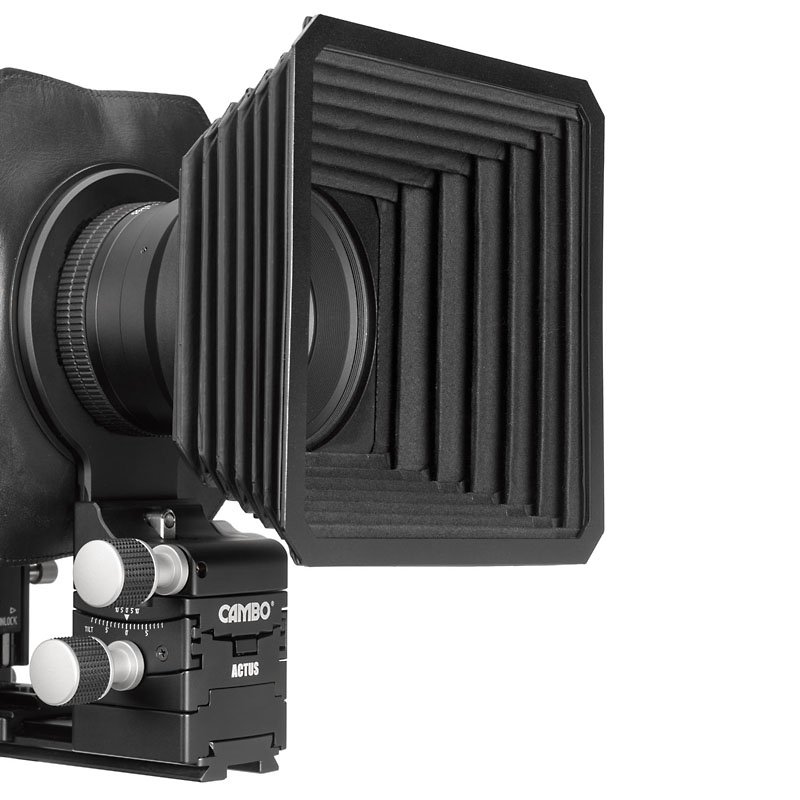
Compendium lens hoods
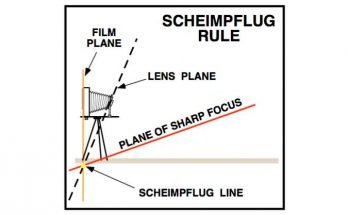
Finally, at the more sophisticated end of the lens shading spectre we have the various iterations of the compendium lens shade. They come in many shapes and sizes, and every large format system manufacturer offers (or has offered at some point) a variation of a compendium shade. Due to the specifics of large format photography, a fixed lens shade is of little use once focal plane manipulation is employed.
Compendium shades are generally for adjustability and can offer optimum shading in a variety of camera setups. Adjustability means that, unlike the dedicated shades of 35mm and medium format lenses, a single compendium shade can successfully be used on a wide variety of lenses. In addition, many compendium hoods offer square or rectangular unmounted filter holders, much like their motion picture equivalents. Naturally, this flexibility comes at a higher price, in addition to the cost of increased complexity and longer set-up time.
Compendium shades come in square or rectangular shapes. They can be attached to the lens or the camera body via friction clamps or rods. Compendium shades can not be reverse mounted on the lens. Then again, you’d not want to transport the camera with such a hood attached in the first place.
Other ways of shading a lens
While lens hoods are by far the most popular way of preventing unwanted glare, there are other means of doing so. After all, what a hood does is simply provide shade for the front element. If the troubling light source is relatively sharp, this can be done relatively easy.
Flag holders
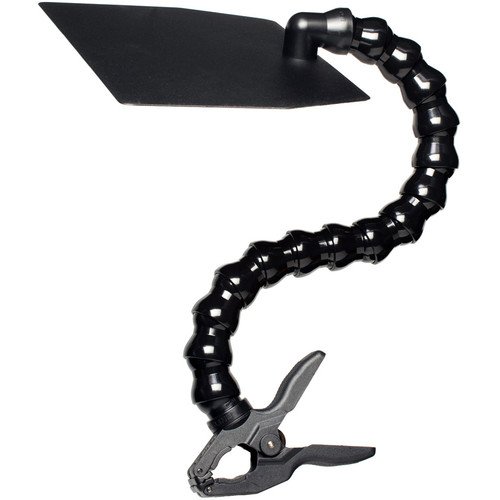
While not technically a lens shade, a small adjustable french flag holder like the Dinkum above can be an extremely effective and flexible tool. It’s made of a small aluminum flag attached to a flexible arm ending with a screw or a clamp. The clamp is secured to a rod, handle or a tripod leg and the flag is positioned so that it shades the lens element without getting into the picture. There are also models made to be attached to a camera hot shoe. Developed for, and mostly found on, cine cameras, this type of shade can be used on all types of optical equipment.
Due to it’s design and operation, flag holders are best suited for relatively statitc tripod work. The french flag can also be used to shade on-board monitors or an operator’s face from bright stage lights. As it only shades light from one direction, you might have to readjust it when you pan or tilt the camera. This is why it’s mostly used as a supplementary shade in combination with a regular matte box or compendium shade.
Care has to be taken using this device outside. On a windy day, the extra surface of the flag may transfer vibrations to the camera or upset it’s position on an unlocked tripod head. If the arm moves easily, a gust of wind can pick up the flag and send it crashing into your lens.
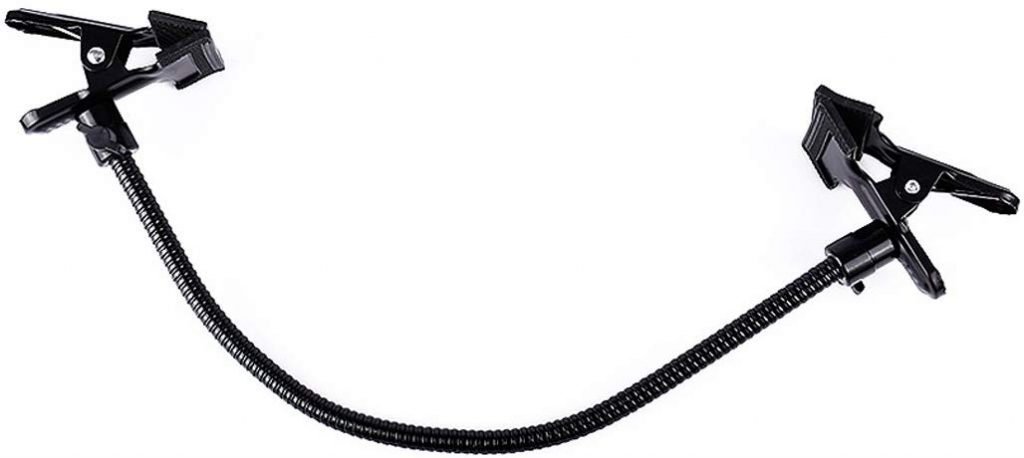
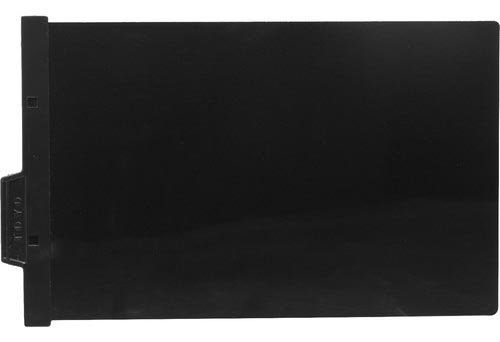
While some models like the Dinkum come compete with a flag, there are models that come without one. Sometimes referred to as reflector holders, these devices are simple articulating arms with clamps on both ends or a clamp and screw mount combination. A generally useful photography accessory, it can be used to hold any rigid opaque sheet of material to act as a french flag. If you are shooting with a large format camera, the dark slide you take out of the film holder for the exposure makes a great flag to put in such a holder.
Tape
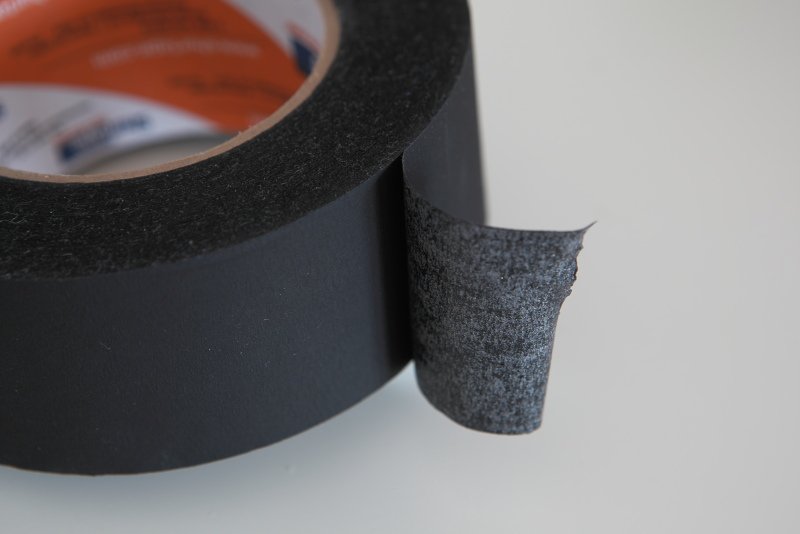
Sometimes the light hitting the lens element is just on-axis for a normal lens hood to shade it. In such situations, it might be possible to take black gaffer tape or masking tape and cover a portion of the lens hood’s opening. This is often done on cinematography camera rigs, mostly in situations where a normal matte box flag gets in the way of camera or actor’s movement. This is why a roll of matte black masking tape is an essential piece of every camera assistant‘s kit.
This approach has limited use on standard bayonet or screw-in lens hoods. They are already deisgned to provide maximum shading and anything within the lens hood opening is most likely going to be in the image as well. An exception can be seen when using a full frame lens on a crop sensor body. As the sensor is not seeing the whole image projected by the lens, you can get away with masking a part of it by placing a strip of tape over the lens hood.
It works so well for cinematography matte boxes because they use a single hood to cover all focal lenghts from wide to telephoto. What this means is that if you are using a longer lens with such a matte box, you have room inside the hood that is not within the image area. It’s this room that you will be covering, should you choose to use the black tape.
Improvise
As we discussed above, the most important thing a lens hood does is to provide a barrier between direct light and the lens’ front elements. If you find youself without a hood and with a big fat flare in the center of the image, you can always improvise.
Simplest way of providing shade for the lens is using your hand. Say you’re doing a landscape photo of a lush meadow but the sun is shining directly in your front element, washing out colours and contrast alike. While looking through the viewfinder or at the screen of your camera, try and position your hand between the sun and the lens. It takes some time to get proper shade without your hand in the frame so be patient. Once you’ve hit the sweet spot you will immediately know. This is easier when shooting from a tripod, but can be done handheld too.
In addition, practically anything you can do to prevent direct sunlight from hitting the front element is fair game. You can do this with your body (if shooting from a tripod), a hat, an umbrella or anything else.
Lens hood Q&A
Should I use a lens hood at night?
The short answer is yes, using a lens hood is a good idea at any time. Shooting in an urban environment at night, for example, gives plenty of flaring opportunities to an unshaded lens. Even if you might not need the shading that much, the physical protection that a lens hood offers is even more important at night where you might be more likely to stumble or bump your camera into things.
Can you use a a lens hood and filter at the same time?
If talking about the typical scenario of a screw-in filter and a bayonet mount lens hood then yes, you can use them both at the same time without any issues. The only inconveniece in such a setup might be that access to the filter for adjustments, for example when using a polarizer, might be a bit more difficult. Some lens hoods, for example Sony’s 70-200mm f/2.8 GM‘s, have special access doors to remedy this.
Where you might encounter some difficulties is if you are using square filters with an auxiliary holder like the Cokin or Lee systems. With those, it’s usually impossible to use the lens’ original lens hood, but both systems offer add-on universal hoods which attach to the filter holder.
Should you use a lens hood for video?
Yes, unless you are after some special effects or flares. If anything, a lens hood is even more important when shooting video, as any unwanted flares of artefacts are much more difficult to correct on a video than on a still. Just ask cine camera assistants how much trouble they go to in order to ensure proper shading of a lens.

