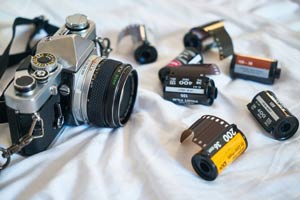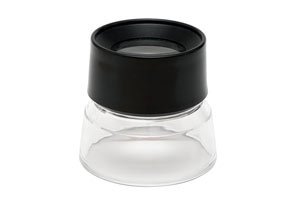
What is a photography loupe?
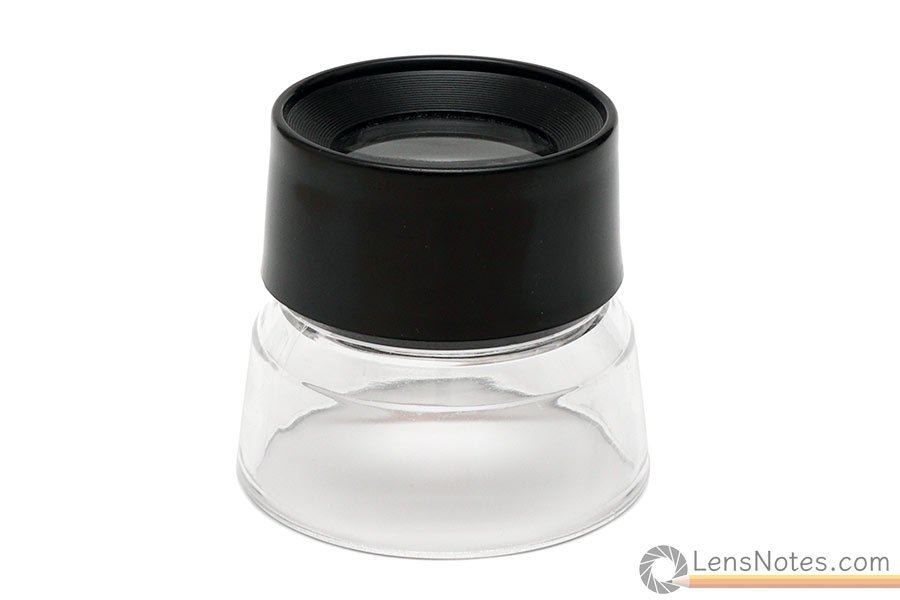
A photography loupe, also called negative magnifier or film loupe, is used to inspect processed film or prints. It’s a single or multiple element magnifier mounted in a skirted housing that can be placed against the film or print to be viewed. Loupes are useful to evaluate or compare different negatives or slides before printing or scanning them, to view contact sheets or compare printing techniques. Large or medium format photographers that compose and focus on a ground glass often use this type of magnifiers.
Depending on the film/print formats and user preference, these loupes come providing anywhere from 4x to 10x magnification or more. The skirts on dedicated film loupes are often black to cut down stray light, as film is always viewed on a light box or table. The skirts on print or general purpose photographic loupes are transparent or translucent to allow light through for print viewing. There are also dual-use designs that have retractable or replaceable black skirts that allow for both film and print viewing, and others that incorporate built-in lights.
There is a wide variety of photographic magnifiers on the market, from cheap all-plastic jobs to full on aspherical coated glass models. The focus on cheaper models is usually fixed at the base of the skirt, while more expesive loupes are often adjustable. Similar loupes are also used in watchmaking, philately, in fabric inspection and jewelry.
How is a photographic loupe used?
As loupes have many different applications in photography, the way you use one differs too. As a simple accessory, a loupe does not require any training or even a manual, but there are some guidelines we can offer.
Before critically evaluating a print or a negative, make sure your magnifier is properly set up. A misaligned loupe can fool you into thinking your negative is no good, so rule that out first. If it has adjustable focus, make sure it’s set correctly. You can use a piece of newsprint to test and calibrate your loupe. Make sure the image is clear and in focus end to end, although budget magnifiers will generally perform best only in the center. If you notice an assymetrical softness or distortion, it might mean that the optical elements in the loupe are defective or not correctly aligned, not something uncommon in cheaper loupes.
Whenever you use a loupe to inspect a negative, a slide or a print, be careful not to scratch the delicate emulsions. Film is fragile, and it only takes a single piece of grit on your loupe’s base to ruin it. It’s best to view film when it’s already filed in a transparent filing sheet that will protect it. For prints, you can use print sleeves or a clear sheet of acetate as protection.
Do you need a loupe?
A loupe is an extremely useful accessory in any photographic practice. Whether you shoot and print your images digitally or you hunch over an enlarger, there comes a day when you need a closer look. A loupe can help you troubleshoot a printer or align an enlarger. It can save you pricy mistakes in the darkroom by helping you weed out those blurry negs. Apart from viewing film or prints, the magnifiers have other uses in a photographer’s work.
If you are shooting a large or medium format camera with a ground glass, you probably already use a loupe and do not need me to sell their benefits to you. However, with the ever increasing pixel density of modern LCD displays, loupes can be useful even with digital cameras. If you do your own camera repair or maintenance, a loupe may come in handy when dealing with those tiny screws and springs. So while your particular shooting style may not warrant keeping a loupe in your camera bag, having one in your kit at home is highly recommended.
Selecting the best photography loupe
Due to the varied nature of the photographic tasks requiring a loupe, there are a ton of different loupe models on the market. Even though there is a lot of overlap, sooner or later you will most likely find yourself with more than one loupe. Here’s how to pick the best ones for your work:
35mm Film
Selecting the best loupe for 35mm film negative and contact sheet viewing depends on the task you have in mind. Often, you will be needing a set of loupes rather than one do-it-all unit. There are two variables to consider when selecting a loupe for 35mm film: magnification power and skirt design.
If you want to inspect minute detail to evaluate sharpness or to fine tune a printing / scanning workflow, you’ll need a high magnification (10x+) loupe. A handy way to determine how much of a magnification you need is to think about the size of prints you want to get out of your negs. For example, if you are printing 12×16″ prints from your 35mm negatives that requires an enlargement factor of around 12x. Therefore, with a 12x loupe you should be able to see what detail you will be getting in a 12×16″ print.
With fine grain technical film and larger prints you can look into pocket microscopes, although their usability as a general film loupe is rather limited. Due to the high magnification it’s impossible to see the whole negative at once using a high powered loupe. If you wish to view the whole image you will be needing a moderate magnification loupe with a large enough field of view. Zoom models are also available, although most of those will not be able to show an entire 35mm film frame even at their widest setting.
Next, there is skirt design. If you will only be viewing film on a light table, an enclosed (black-skirted) loupe will theoretically offer improved contrast eliminating stray light. However, if you wish to be able to use the loupe to view prints as well, you will be needing a transparent or translucent skirt model that will allow light through. In reality, film inspection is rarely done in bright ambient light, making the case for black-skirted loupes more theoretical than practical. You’ll hardly ever see a difference with a clear skirted loupe, and the added flexibility of being able to use it for both prints and films is worth the trade-off.
120 & Large format film
Selecting a loupe for film formats larger than 35mm is very similar, and you can certainly use the same one for all your film (and prints). However, if you are buying a magnifier specifically for use with medium or large format film, you can consider some factors.
First, as with 35mm, think about enlargement. With the larger surface areas of medium and large format negatives, you’re less likely to run into the high enlargement factors typical for 35mm. For example, doing the same 12×16″ print that took a 12x 35mm enlargement would only require a 3x enlargment of a 4×5″ negative. Or, to look it from the other end, a 12x magnification of a 4×5″ negative would result in a mural sized 48×60″ print. You can see where this is going. Basically, higher magnification is not always better. Unless you are printing monster sizes, you might be better with a lower-powered magnifier with a wider field of view that will show you a more meaningful portion of the image.
Unsurprisingly, viewing the whole image through a magnifier is trickier for medium and large formats than it is for 35mm. While large format film 4×5″ or above is almost impossible, there are some exotic medium format full-frame loupes out there. A more available substitute can be found in digital camera LCD magnifiers like the Hoodman H32MB. Made to fit 3.2″ LCDs, this loupe can show you a 3x image of a whole 6×7 negative or slide.
Print viewing
Viewing prints is perhaps the second most popular use of loupes in photography. Generally, we don’t tend to need to observe prints under a magnifier as often, as prints are normally created to be enjoyed bare eyed. However, in certain circumstances, you may need to take a closer look. A typical example is the examination of a 35mm contact sheet. The images on the sheet are generally too small to allow you to accurately judge an exposure, so a magnifier is often used. For such use, a lower-powered wide view magnifier is most suitable.
Naturally, unlike film, prints are viewed with reflected light, so your magnifier of choice has to allow for this. You have the choice of either getting a clear-skirted model or one with built-in lights. Generally, the former option is preferred. Unless the loupe is specifically made for print evaluation, the lights in magnifiers hardly provide the quality of illumination needed to properly judge a print’s tonality. You can also use a regular, handheld magifying glass although they are more cumbersome and rarely have the necessary sharpness.
Large format photography
Even though loupes for large format photography are typically viewed as a separate instrument, the fact is that they are very similar to negative magnifiers. More often than not, you can use a large format ground glass loupe for negative viewing and vice versa. There are a few critical points when it comes to selecting a loupe for large format photorgraphy.
The first is magnification power. Of all the use cases for loupes in photography, it’s ground glass viewing where selecting the right magnification is perhaps most cruical. Too little, and you will not be seeing the details you need, too much, and all you will see is the ground glass pattern. The right magnification for you is personal and depends on your eyesight and the type of your focusing screen. Most photographers hang around 4x to 6x, with some going as high as 10x. It’s best to try a few options to see what works for you and your gear.
Second, keep in mind that a loupe for ground glass viewing must have adjustable focus. The reason for that is that on a view camera, you are looking at the image projected on the ground glass through the non-ground side of the focusing screen. What this means is that the loupe needs to be focused not at it’s base, but on the ground side of the glass. Different focusing screens have different thickness, and if you add a fresnel they become thicker still, so it’s impossible to account for this in a fixed focus loupe. Therefore, you need a focusable magnifier that you can focus to the precise position of the image plane.
Last but not least, when selecting a focusing screen loupe consider it’s shape and length. This is important because you will be using the loupe on a rectangular ground glass that is probably somewhat recessed into it’s frame. This means that a round loupe can never get into the very corners unless you lift it off the glass, losing focus. To remedy this, you can either use a magnifier with a square or rectangular base or an exotic tilting loupe like a Silvestri. The lenght of a loupe is important when you are using a fold-out focusing hood instead of a dark cloth. The depth of the hood may prevent shorter loupes from reaching the ground glass.
What are photographic loupe alternatives?
You find yourself in dire need of a loupe and can’t wait for a delivery? Fret not, for there are a bunch of alternatives you can use to save the day. Because photography gear is basically a pile of gadgets with lenses in them, many can be repurposed to serve as a magnifier. Most will not perform as well or be as comfortable as a good quality photography loupe, but they might get you out of a tight spot.
Old lens
Many photographers keep an older 35mm prime or an enlarger lens to use instead of a dedicated loupe. Even if it’s banged up, with a stuck focus ring or a busted aperture, as long as the glass is in good nick it can be used. This is a good solution, as even a cheaper camera or enlarger lens will usually have decent quality on par with most of the expensive loupes. Most users report good results with either 50mm or 35mm focal lenghts. You might need to do some DIY to equip the lens with a base to replicate a loupe, or use it freehand much like a regular magnifying glass.
Reading glasses
A popular alternative to loupes, stronger reading glasses are another option to consider. Some users find them comfortable as they leave both of your hands free, while others find the experience a bit disorienting. If you already wear prescription glasses, adding a second pair might be uncomfortable or impractical.
Waist level finder
This is a bit more of a niche option, since it’s only viable if you have a medium format camera with a detachable waist level viewfinder with a built-in magnifier. Anyway, I’ve successfuly used my Bronica SQ-Ai’s finder as a foldable loupe capable of showing a clear, magnified image of a full 6×6 frame. The finder is not flat based but has some mounting tabs protruding from the bottom. I still wanted to be able to mount it on the camera, so I did not remove the tabs but made a pad of EVA foam to level the base.
Phone
Most phones nowadays can focus fairly close, and with the ever increasing megapixel count of their sensors, they can provide pretty decent close up images. Many phones even have dedicated magnifier camera modes or apps. Bonus tip! If you enable your phone’s Invert colors accessibility feature, you’ll get live negative inversion.
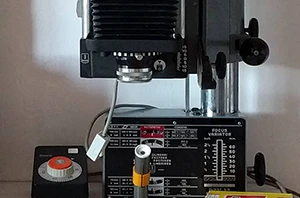
Enlarger + Focus finder
If you want to inspect your film at very high magnifications but lack a microscope or high power loupe, you can use your darkroom printing setup. Pop the film in your enlarger, crank the head up high and use a magnifying focus finder to scrutinize details. This does add a few variables in the mix, such as enlarger and film holder alignment, enlarger lens quality and focus finder alignment, but will give you a highly magnified image.