
You don’t get much chances to combine two amazing things into one, but photographing the sea is a rare opportunity to do just so. Spending time by the great blue is great by itself, but capturing those moments makes it so much more awesome. Seaside is an emotional place for everyone, we all have memories of happy times by the water. It is also the place where you can witness nature’s most dramatic mood swings. A seascape can go from placid bright skies to ominous purple thunderheads in a matter of minutes, a spectacle on an unimaginable scale.
On the surface (pun intended), photographing the sea may seem as simple as shouldering your camera bag and heading for the shore. However, sea photography does have it’s qurks and specifics. If you want to go beyond the snapshots and unleash your imagination, you need to take them into account. So be prepared, be inspired and check out our gear tips to make the most out of your time in the breeze!

The Basics
Preparedness is the basis of success, even for something as leisurely as a stroll down the beach. Beautiful as it may be, the shore can give your camera equipment a hard time. The salt spray can quickly build up, making your camera body sticky and your lens foggy. Sand can get in the most unexpected places, causing trouble down the road. A shower or a rogue splash can make quick work of an exposed camera. Make sure you’re equipped with the right tools to keep your equipment safe and sound.
Protection
A long hike on a deserted beach sounds like paradise to many, but the weather near the sea can be notoriously shifty. It’s easy to get caught up in a summer storm with no shelter in place. You may embrace and enjoy the cool refreshment, but your camera might not be so excited. Even though many cameras now offer some degree of water resistance, it’s best not to rely on it too much. Therefore, it’s best to ensure adequate protection for your equipment and accessories for your sea photography adventure.
If you are only carrying a point-and-shoot or a light mirrorless you might only need a sutable pocket for it in a waterproof jacket. Alternatively, you can get a small shoulder pouch if you prefer a separate storage for your camera. With more equipment, a shoulder bag or a backpack is probably your best bet. Hiking along the shore can be tiring, so make sure your bag is comfortable and well-balanced, and leave behind anything unnecessary.
Apart from weather resistance, you don’t need any special features in your shore photography camera bag. Of course, the amount of protection is directly dependent on the camera you are carrying. A rugged waterproof compact can handle a lot more that a delicate mirrorless. Generally, a good quality camera bag can provide all the protection your gear needs.
You most likely already have a suitable bag, although it can be a nice reason to treat yourself to a new one. The Lowepro AW series of bags all have stow-away rain covers that let you be prepared for any occasion. Do keep any pockets zipped as there’s few thing more annoying than finding your camera bag full of sand in the middle of the beach.
Getting Wet
Stowing away your camera to shelter it from the rain may be the sensible thing to do, but sometimes you might just want to keep on shooting. Or maybe you want to get up close into those gorgeous sea splashes jetting from the breakwater blocks. In any case, you need to be a bit more seriously prepared to pull this off and have your camera live to tell the story.
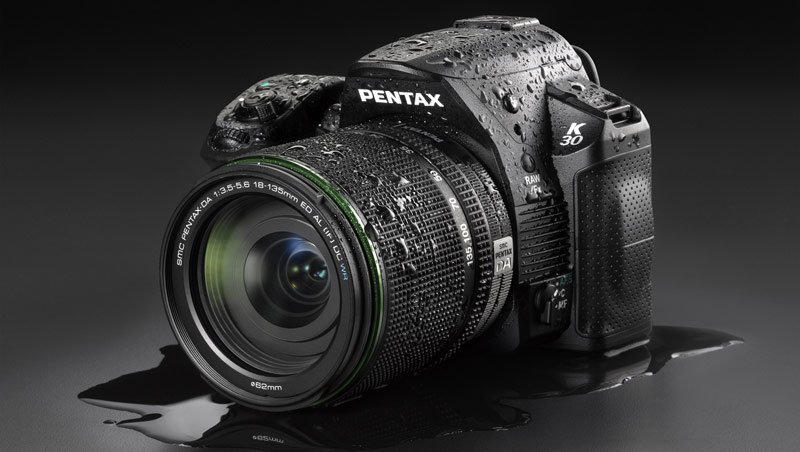
You can start by checking how much water can your camera take before protesting. I’m not suggesting you dunk it in the tub with a stopwatch! Instead, check the manufacturer’s specs in regards to weather sealing. Many modern cameras, like the Pentax K30 above or the Olympus OM-D E-M1 Mark III come with weather sealed bodies. This enables the cameras to able to operate normally in rainy or splashy conditions (but not underwater) without additonal protection.
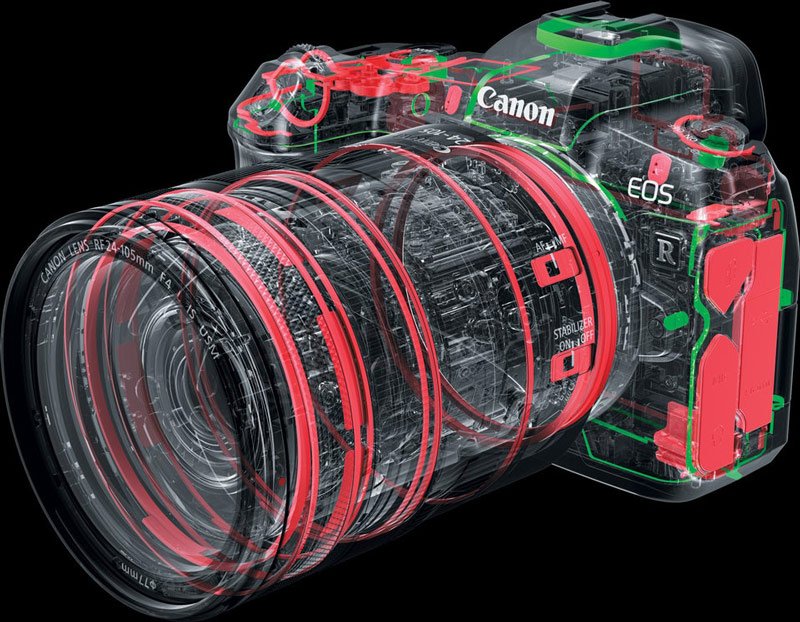
If you are shooting a camera with weather sealing, make sure you follow the manufacturer’s guidelines and recommendations. Keep any accessible seals (such as those on the card/battery doors or port covers) clear and in good condition. Do keep in mind that the lens you use needs to be weather sealed too, or you’ll be in for a nasty surprise. Furthermore, many lenses require a filter to be screwed in the front to complete their weathersealing.
If your camera is not equipped with weather sealing but you still want to get some water action, you will need to get some additional equipment. In a pinch, you can get creative with cling film, plastic bags and shower caps, but that comes with some inconveniences and risks. A more sensible approach may be to purchase a camera rain cover in a suitable size. Do keep in mind that a rain cover is not foolproof and can leak. If you want to get adventurous in rough weather you might want to check out the next section.
Getting Really Wet
If you are anything like us, the most fun at the beach is to be had in the water. If you want to take your photography in with you be sure you are properly geared up. You basically have two options when it comes to photography in the water. You can get a dedicated underwater camera or you can equip your regular camera with an underwater housing.
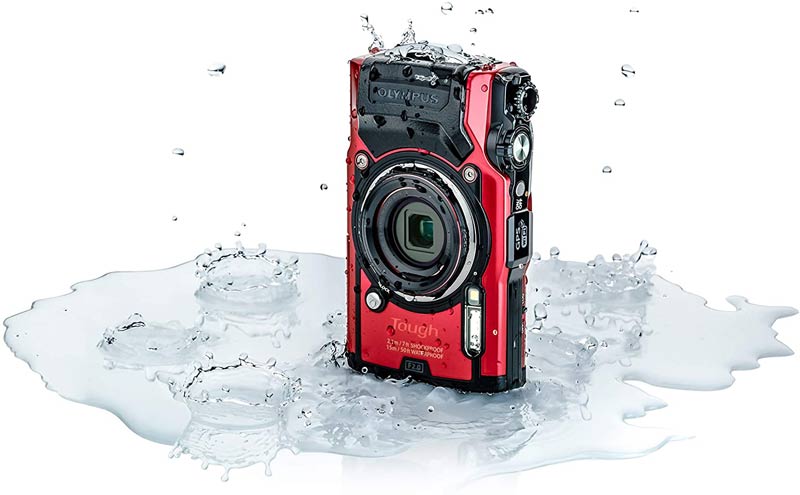
For casual underwater use and recreational activities, a waterproof compact camera like the Olympus Tough TG-6 above is a good choice. Most models are relatively rugged, offering limited shock protection in addition to the water resistance. These cameras are generally geared towards underwater shooting, with large-sized controls and menu options to ease diving use. To further improve this, you might consider adding a pistol grip for better control when framing.
Useful as they are, however, waterproof compacts are usually pretty basic when it comes to advanced photography features. If you are serious about underwater photography and want full control, chances are you will want to keep using your current camera.
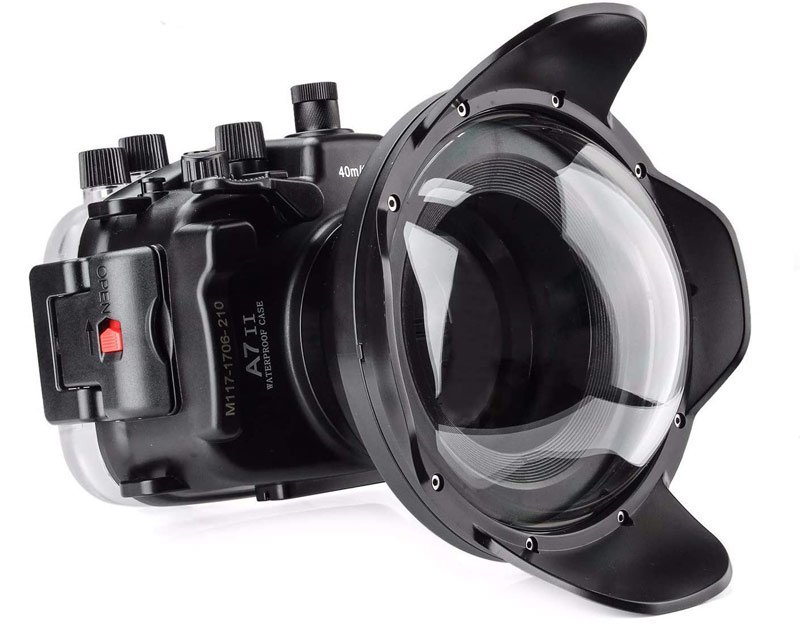
An underwater housing is the way to do this. Even if you do not plan to get in the water, a housing is the only 100% reliable way to protect a camera from rain and splashes. Custom fitting housings are manufactured for pretty much any camera out there, but their price can easily exceed the price of the camera itself. Universal models can be found at the lower end of the spectrum and are a good choice for recreational use.
Shooting film in or under the water is a bit more of an adventure when it comes to gear. The only new film cameras for underwater use available today are the cheap and cheerful disposables like the Kodak Weekend and Lomography’s reloadable version of one. No advanced film cameras for underwater use are currently manufactured. Your best bet is looking for a good condition used Nikonos, Canon Sure Shot or a Minolta Weathermatic.
As an alternative, you can look for a universal underwater housing fitting your film camera. However, this may be a cumbersome option, as most models are made to work with digital cameras using their LCD displays for framing. Using an analog camera’s viewfinder through such a housing may be a challenge.
Accessorise
The beach can be a blank canvas for you to get creative. You can try your hand at long exposures, creative filtering, self portraiture or something completely different. Regardless whether you are with company or on your own, the seaside will get your creative juices flowing. Even though there’s plenty you can do with just your camera, you might find some of these accessories helpful.
Tripod
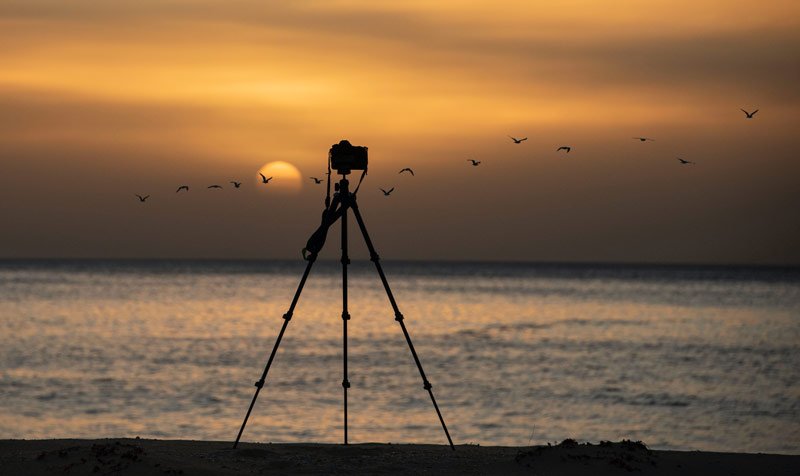
A tripod is the foundation for experimentation in photography. The first time you have one uncomplainingly hold the camera while you setup and putter around to you heart’s content is a revelation. You probably already have a tripod and seaside photography is generally no different than any other situation you might use one in.
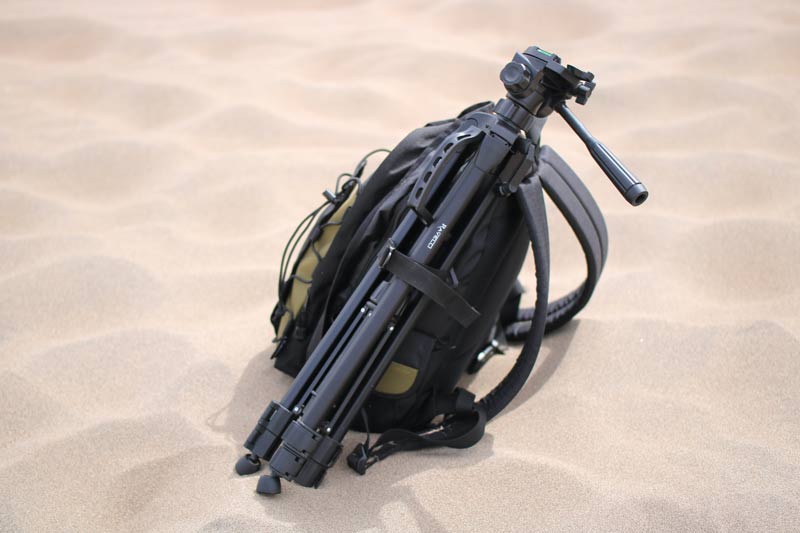
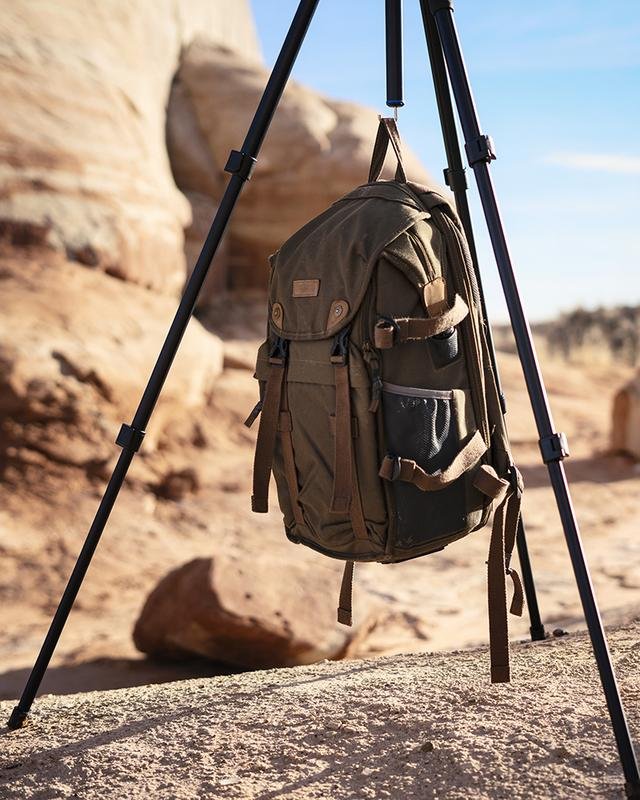
If you are buying one specifically for use by the sea, then there are certain things to look out for. Like stuffed camera bags, a heavy tripod can take it’s toll during a long sandy trek. On the other hand, a lightweight tripod can easily be blown over by a strong gust of wind. Look for the right balance. A useful feature on many models is the hook at the bottom end of the center column. This is doubly useful at the beach, as it allows you to simultaneously weigh down your tripod for stability and hang your bag up and away from the sand and water. Spiked feet can also be useful to anchor your tripod down on loose ground or rocks.
Some tripod designs are inherently more suited for seaside use than others. For example, a twist lock tripod may be better sealed against sand as opposed to a toggle lock tripod. Similarly, a carbon fiber tripod may resist the corrosive seawater better than an aluminum model, especially if you want to put it in the water. Models with fewer leg sections present fewer ways of ingress for sand and water. Regardless, the sea does take it’s toll, so a good approach may be to keep an older, cheaper tripod solely for sea photography instead of torturing your nice expensive Gitzo.
Taking care of your tripod after a stroll down the beach will ensure it’s longtime wellbeing. There are two things the sea will throw at your tripod – salt and sand. Both can cause corrosion, increased wear and rough operation over time. To keep your tripod in good condition, make sure to brush the sand from all joints and give it a good wipe with a clean damp cloth. If any of the locks or leg sections feel rough or scratchy, there’s probably sand in there. Consult the manufacturer’s documentation whether it can be disasembled and cleaned.
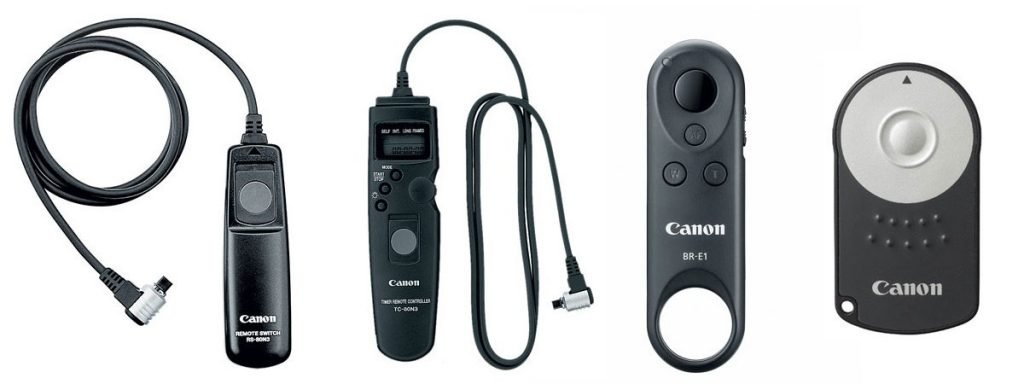
Remote Shutter Release
A remote shutter release is the tripod’s best friend. It’s a cheap, lightweight accessory that enables you to vastly expand your photographic capabilities. For example, if you are doing long exposures you are generally limited to the longest speed your camera supports, which can be as little as 15 seconds on some models. A locking remote combined with your camera’s bulb mode lets you overcome this limitation.
Long cabled, or better yet wireless, remote shutter releases give you the opportunity to get creative with self portraits. Of course, you can always use the self timer, but not being forced by the blinking timer light and urgent beeping is worth getting a remote. Check out our extensive remote shutter release gear guide that will help you select the best one for you.
Filters
Filters are an key part of sea photography gear for practical as well as creative reasons. Of course, this section only applies if your camera supports the use of filters. If you are using a point-and-shoot or an underwater compact camera you may not have the option of adding auxiliary filters. However, if you’ve made it this far into the article, chances are your camera is advanced enough to support them.
UV
Starting with the basics, a ultraviolet or UV filter is a very useful addition to your kit. Also called a skylight filter, it improves contrast by blocking excessive UV light. Ultraviolet filters are specifically recommended if you are shooting film, as it’s more affected by the UV light than digital sensors.
UV filters are also commonly used as protection filters, albeit their use is a bit of a controversial topic. Some photographers swear by them, while others condemn their use. Even if you do not normally subscribe to the UV filter on all the time school of thought, you can use a bit of extra protection around the sea.
The sea breeze carries tiny salty droplets that can quickly build up all over your equipment. Once it dries, the salt crystals left over on the surfaces are abrasive enough to damage the delicate lens coatings. By using a UV filter in front of your expensive glass, you can minimise the risk and transfer all the additional wear and tear to the easily replaceable accessory.
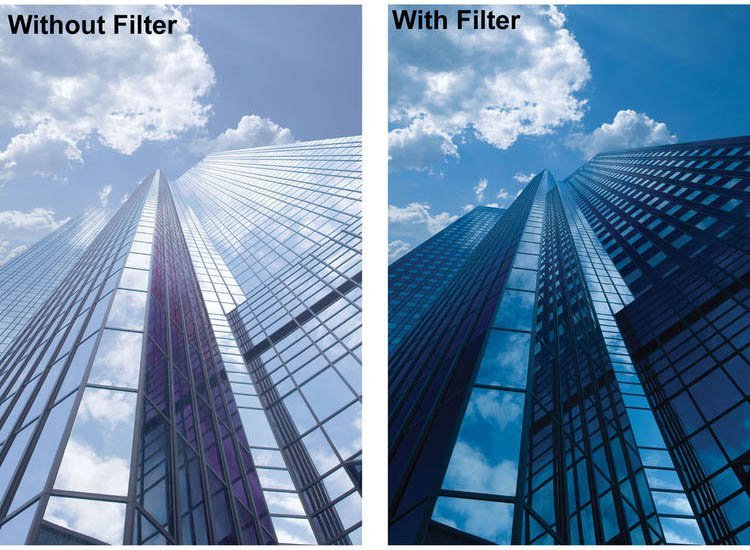
Polarizer
A polarizing filter is probably the second most popular filter found in photographers’ kits. Polarizers are used to enhance contrast, reduce glare and atmospheric haze in landscape photography and are especially useful around the sea. The polarizer is one of the few photographic filters whose effect cannot be digitally simulated.
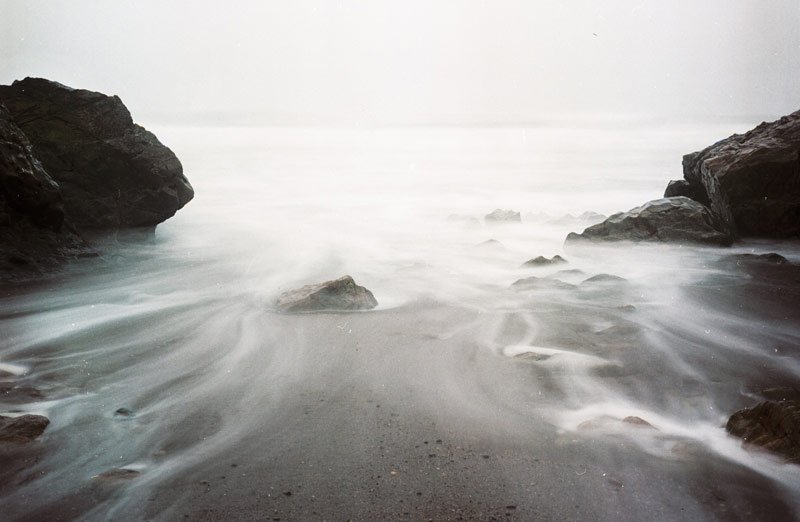
Neutral Density
Neutral density or ND filters are the third category of filters most useful along the sea shore. These filters are used to extend the exposure time, alowing you to do long exposures even in bright daylight. A popular genre of seascapes, long exposures result in dreamy abstractions.


Oh, my! I didn’t even realize that it would be smart if we could find a camera tripod which is heavy enough to withstand outdoor wind. My sister-in-law and her boyfriend are doing a pre-wedding photoshoot next weekend at a nearby forest reserve. I’ll definitely remind them to consider this kind of equipment so the end results will look spectacular.